
Arduino Interactive Lesson 2: Sensors
Sensors can ‘sense’ by changing the amount of power that flows through them. The Arduino then reads the amount of power going through the circuit. Let’s explore how this works.
Analog vs. Digital
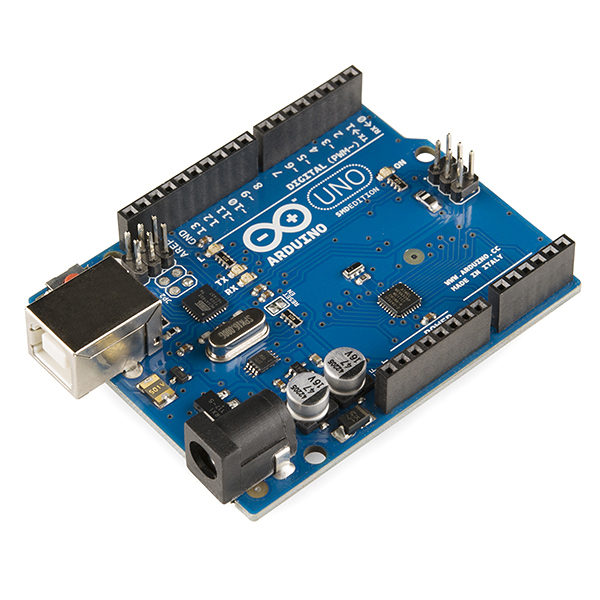
There are two types of pins on the Arduino, digital (pins 0-13) and analog (pins A0-A5). Imagine a light switch: it can be turned either on or off. Digital pins work the same way. They can be turned either on or off within your code, but not in between. They can also be used with sensors that only have two choices (pressed/not pressed, activated/not activated, etc.), like a button or switch. Now imagine a light dimmer: as you move the dimmer, the lights can get brighter or darker. Analog pins can take in data from sensors that can have many different states. We can use these to take data that read on a scale, like a photoresistor (light sensor) or flex sensor.
Activity 1: Potentiometer
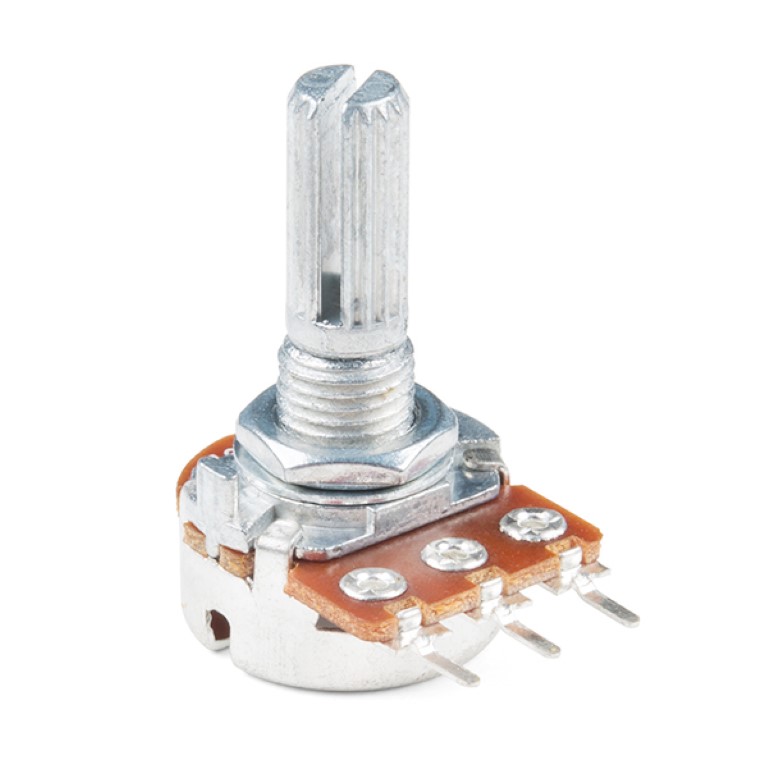
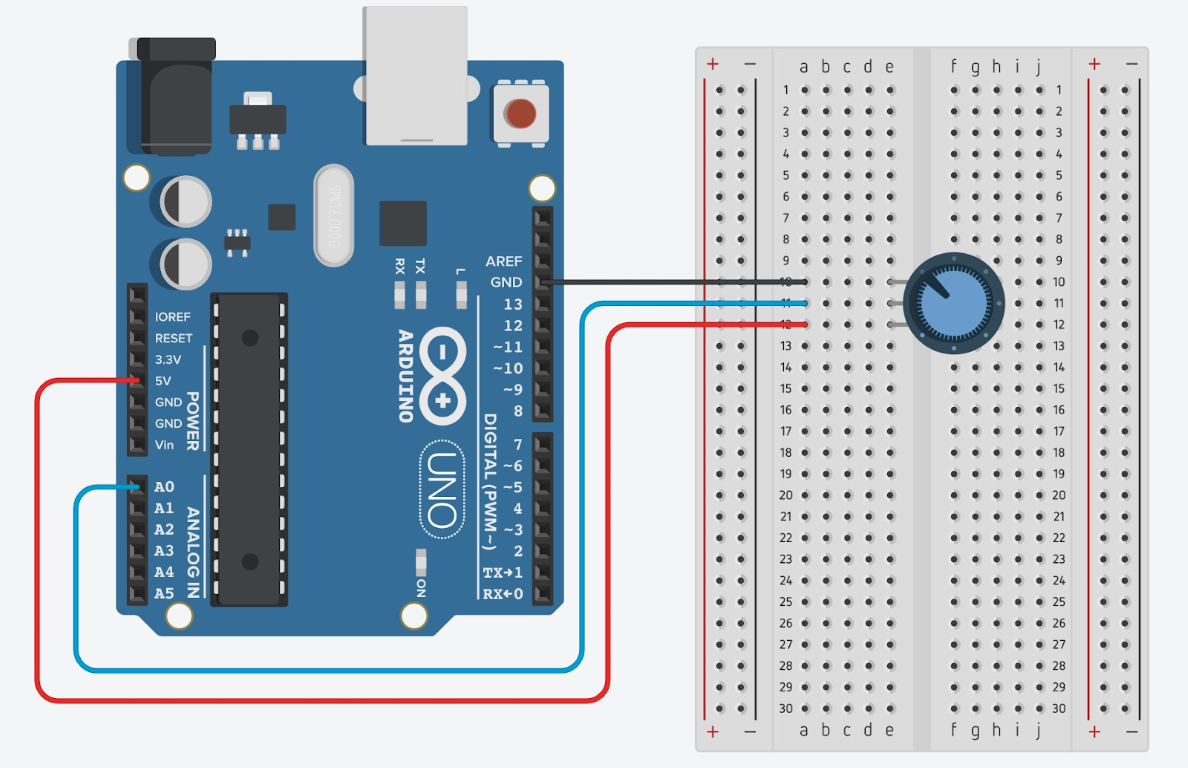
In this activity, you will connect a potentiometer to the Arduino. A potentiometer is a sensor that is essentially a knob (like a volume knob on a stereo). It changes how much power comes through based on how far it has been turned. Potentiometers come in many shapes and sizes, so yours may not look exactly like the one pictured.
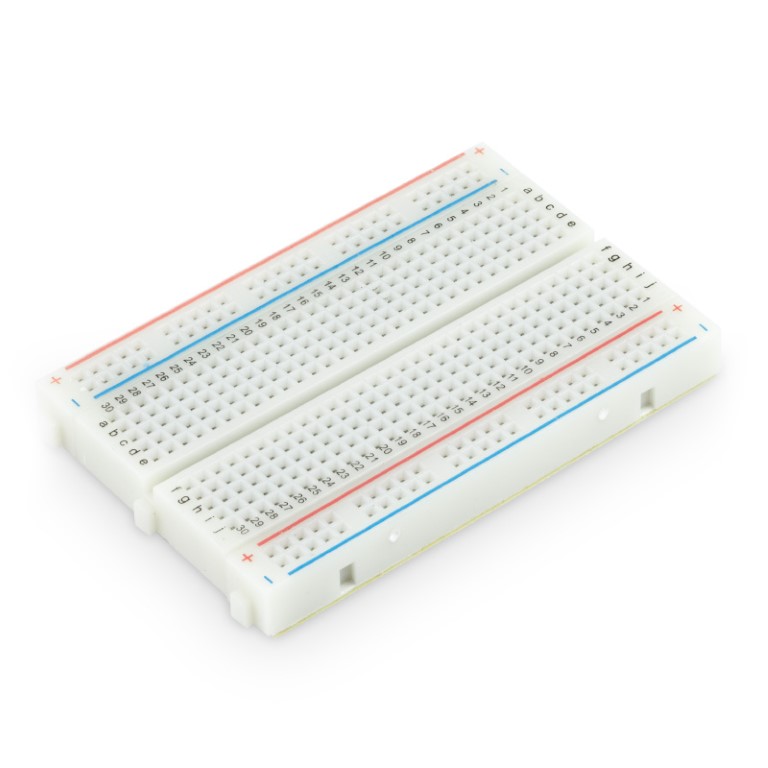
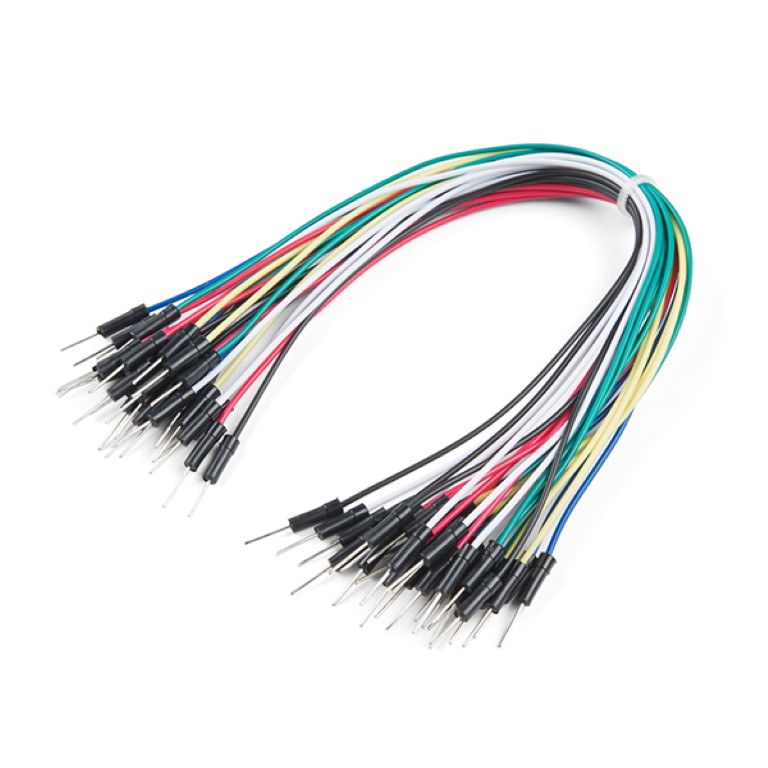
Materials Needed:
Circuit
To connect the potentiometer to the Arduino, connect the 5V and GND Arduino pins to the side pins on the sensor (it doesn’t matter which side is 5V and which side is GND) and A0 on the Arduino to the middle pin on the sensor (see images below). Most sensors that have three pins can be connected exactly like this.

Potentiometer Code
Now enter the following code into the Arduino IDE and upload it:
If your code is still not uploading or working properly, follow the steps in the troubleshooting guide here.
Explore the Code
Discuss the following questions with your group:
- Click on the magnifying glass icon in the Arduino IDE. Turn the potentiometer and look at the values on the screen. What is going on?
- Push the reset button (the small button next to the usb plugin) and look at the screen to see the “MESA Rocks!” message. Why does this message only appear once?
- Delete the "ln" from println on line 11 (In other words, change it to "Serial.print()")
- Leave comments on the code (remember, //) explaining each line. If you have questions about functions, ask your advisor or mentor for clarification.

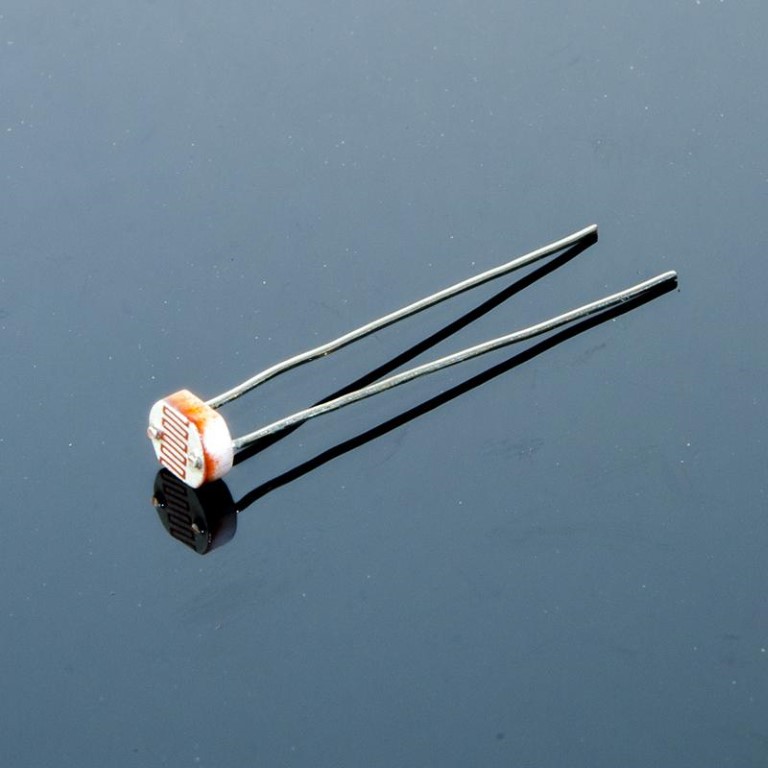
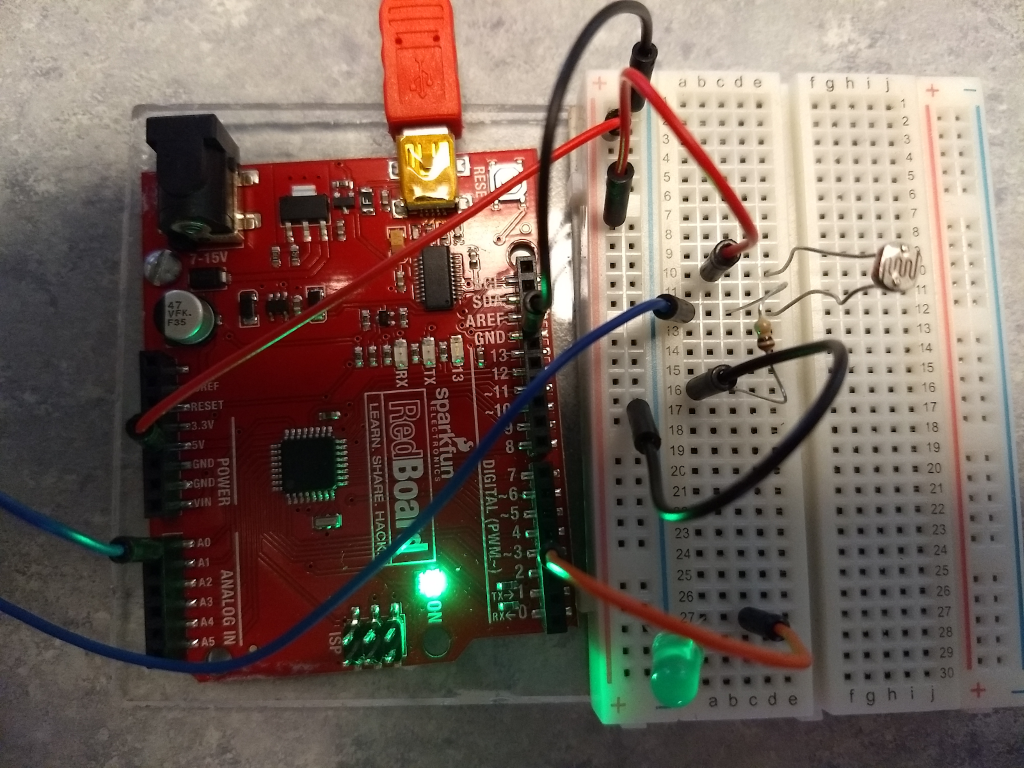
Activity 2: Photoresistor
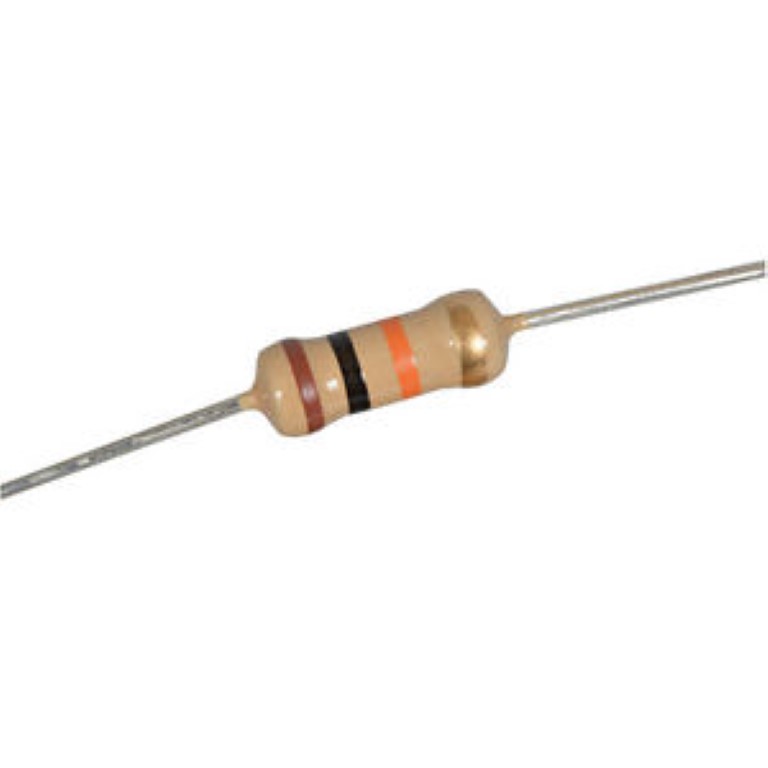
Now we are going to replace the potentiometer with a photoresistor (a light sensor) and a 10K resistor.
Circuit
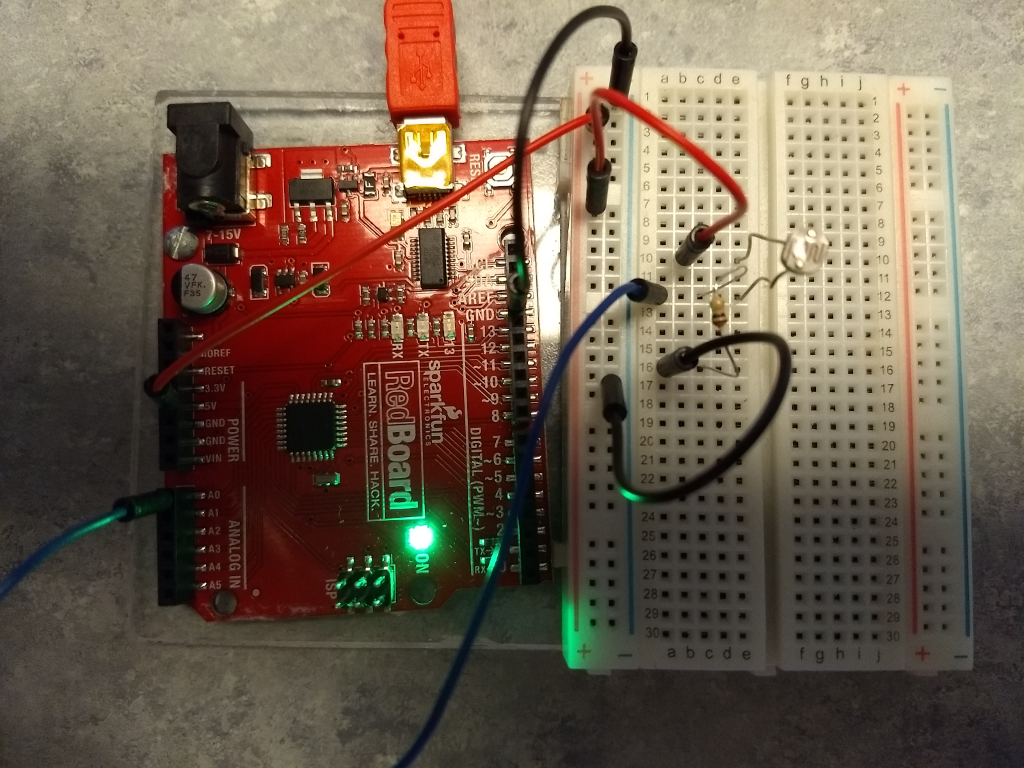
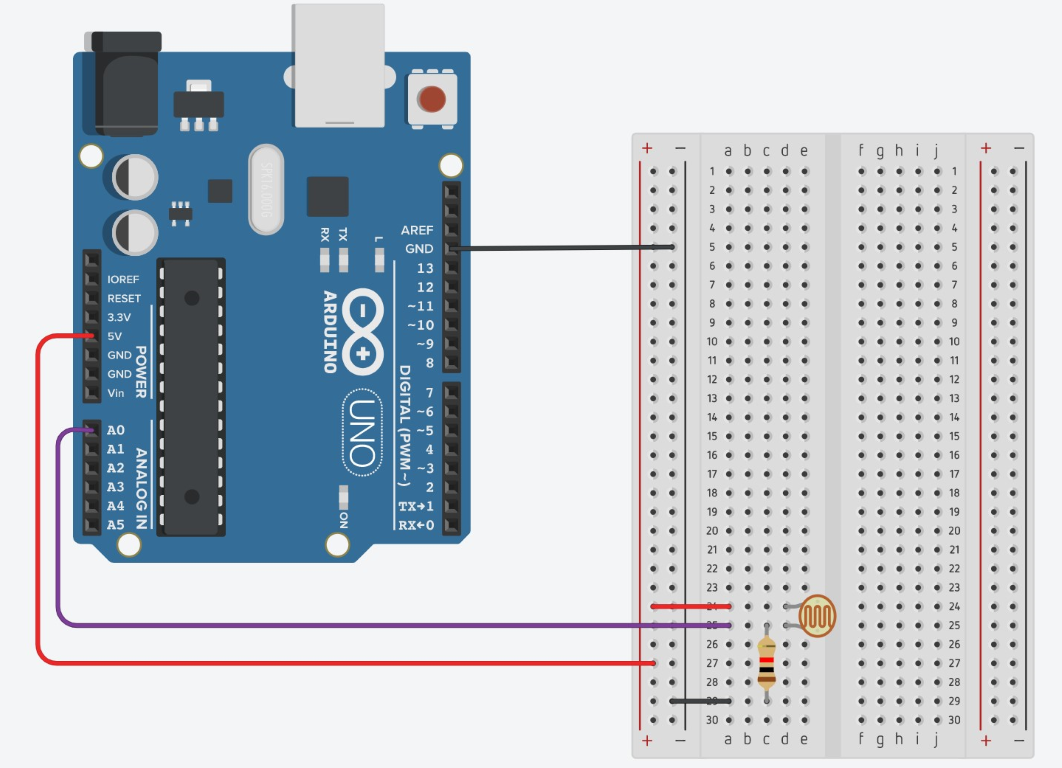
Notice that the code doesn’t change. Also note that the wire to A0, one wire from the sensor, and one wire from the resistor are all connected. Move your hand over the sensor. How do the values change? Try switching the resistor and the sensor. How does that change the values?
Code
(This is exactly the same as the code above.)
The photoresistor can be replaced with several different sensors. Many sensors with only two wires can be inserted into the same location as the photoresistor and the code will work the same, many of the sensors with three wires will hook up the same as a potentiometer and the code will work. Try switching out the photoresistor with a temperature sensor, or a flex sensor, or other sensors you may have available.
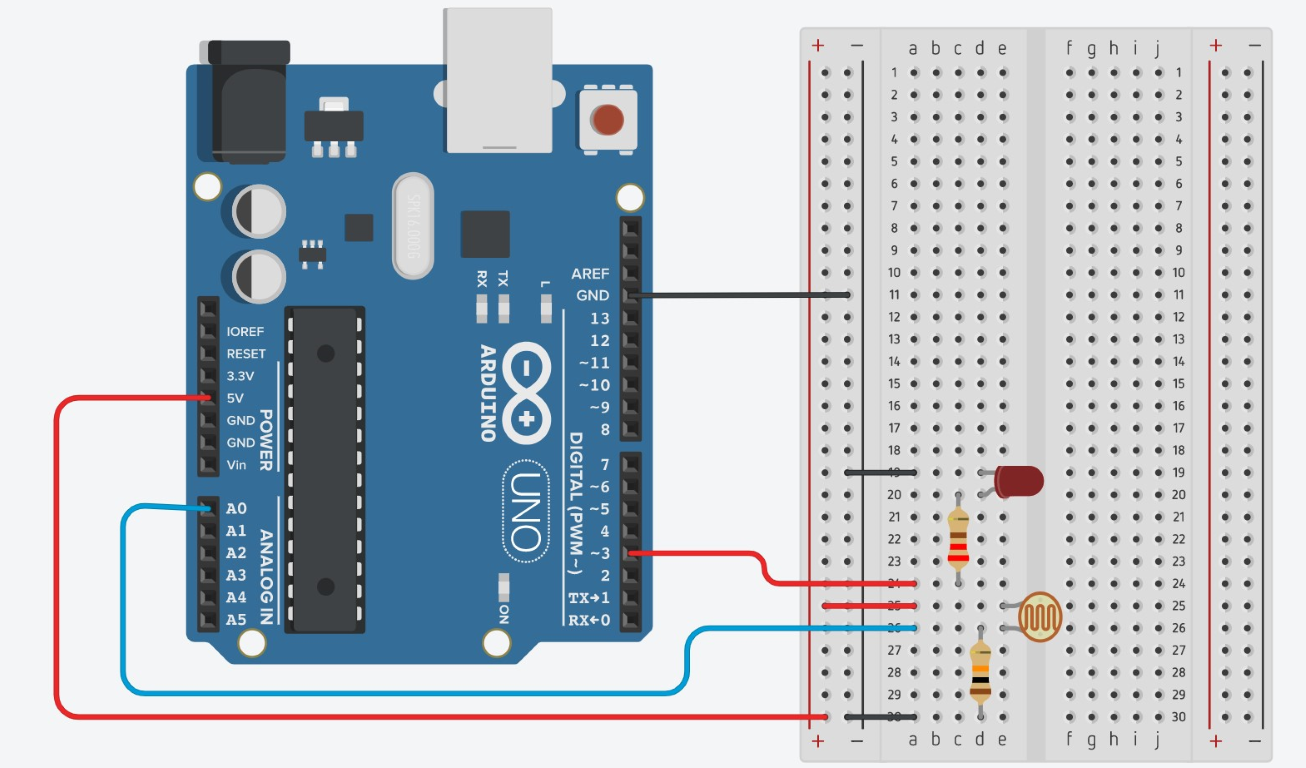
Now that you can see what values are being output on the serial monitor, you can adjust your code to do what you need it to do. Here is an example of how you could modify the code to be a nightlight:
Circuit
Code
Note: If you are in a bright room, you might need to change the value in the line if(reading < 450){ to be higher than 450. Look at the values on the serial monitor and choose a value that is larger than the values when your finger is on the sensor, but smaller than the values when your finger is off the sensor.
Challenges
- Using a potentiometer and two LEDs set us a circuit and write a code that will turn on one LED if the potentiometer value is less than 500 and the other LED if the value is greater than or equal to 500. (Hint: use if statements.)
- Try using one of the other sensors you have available to control LEDs in some other way.